
Testing Wild Clay from Home
April 16
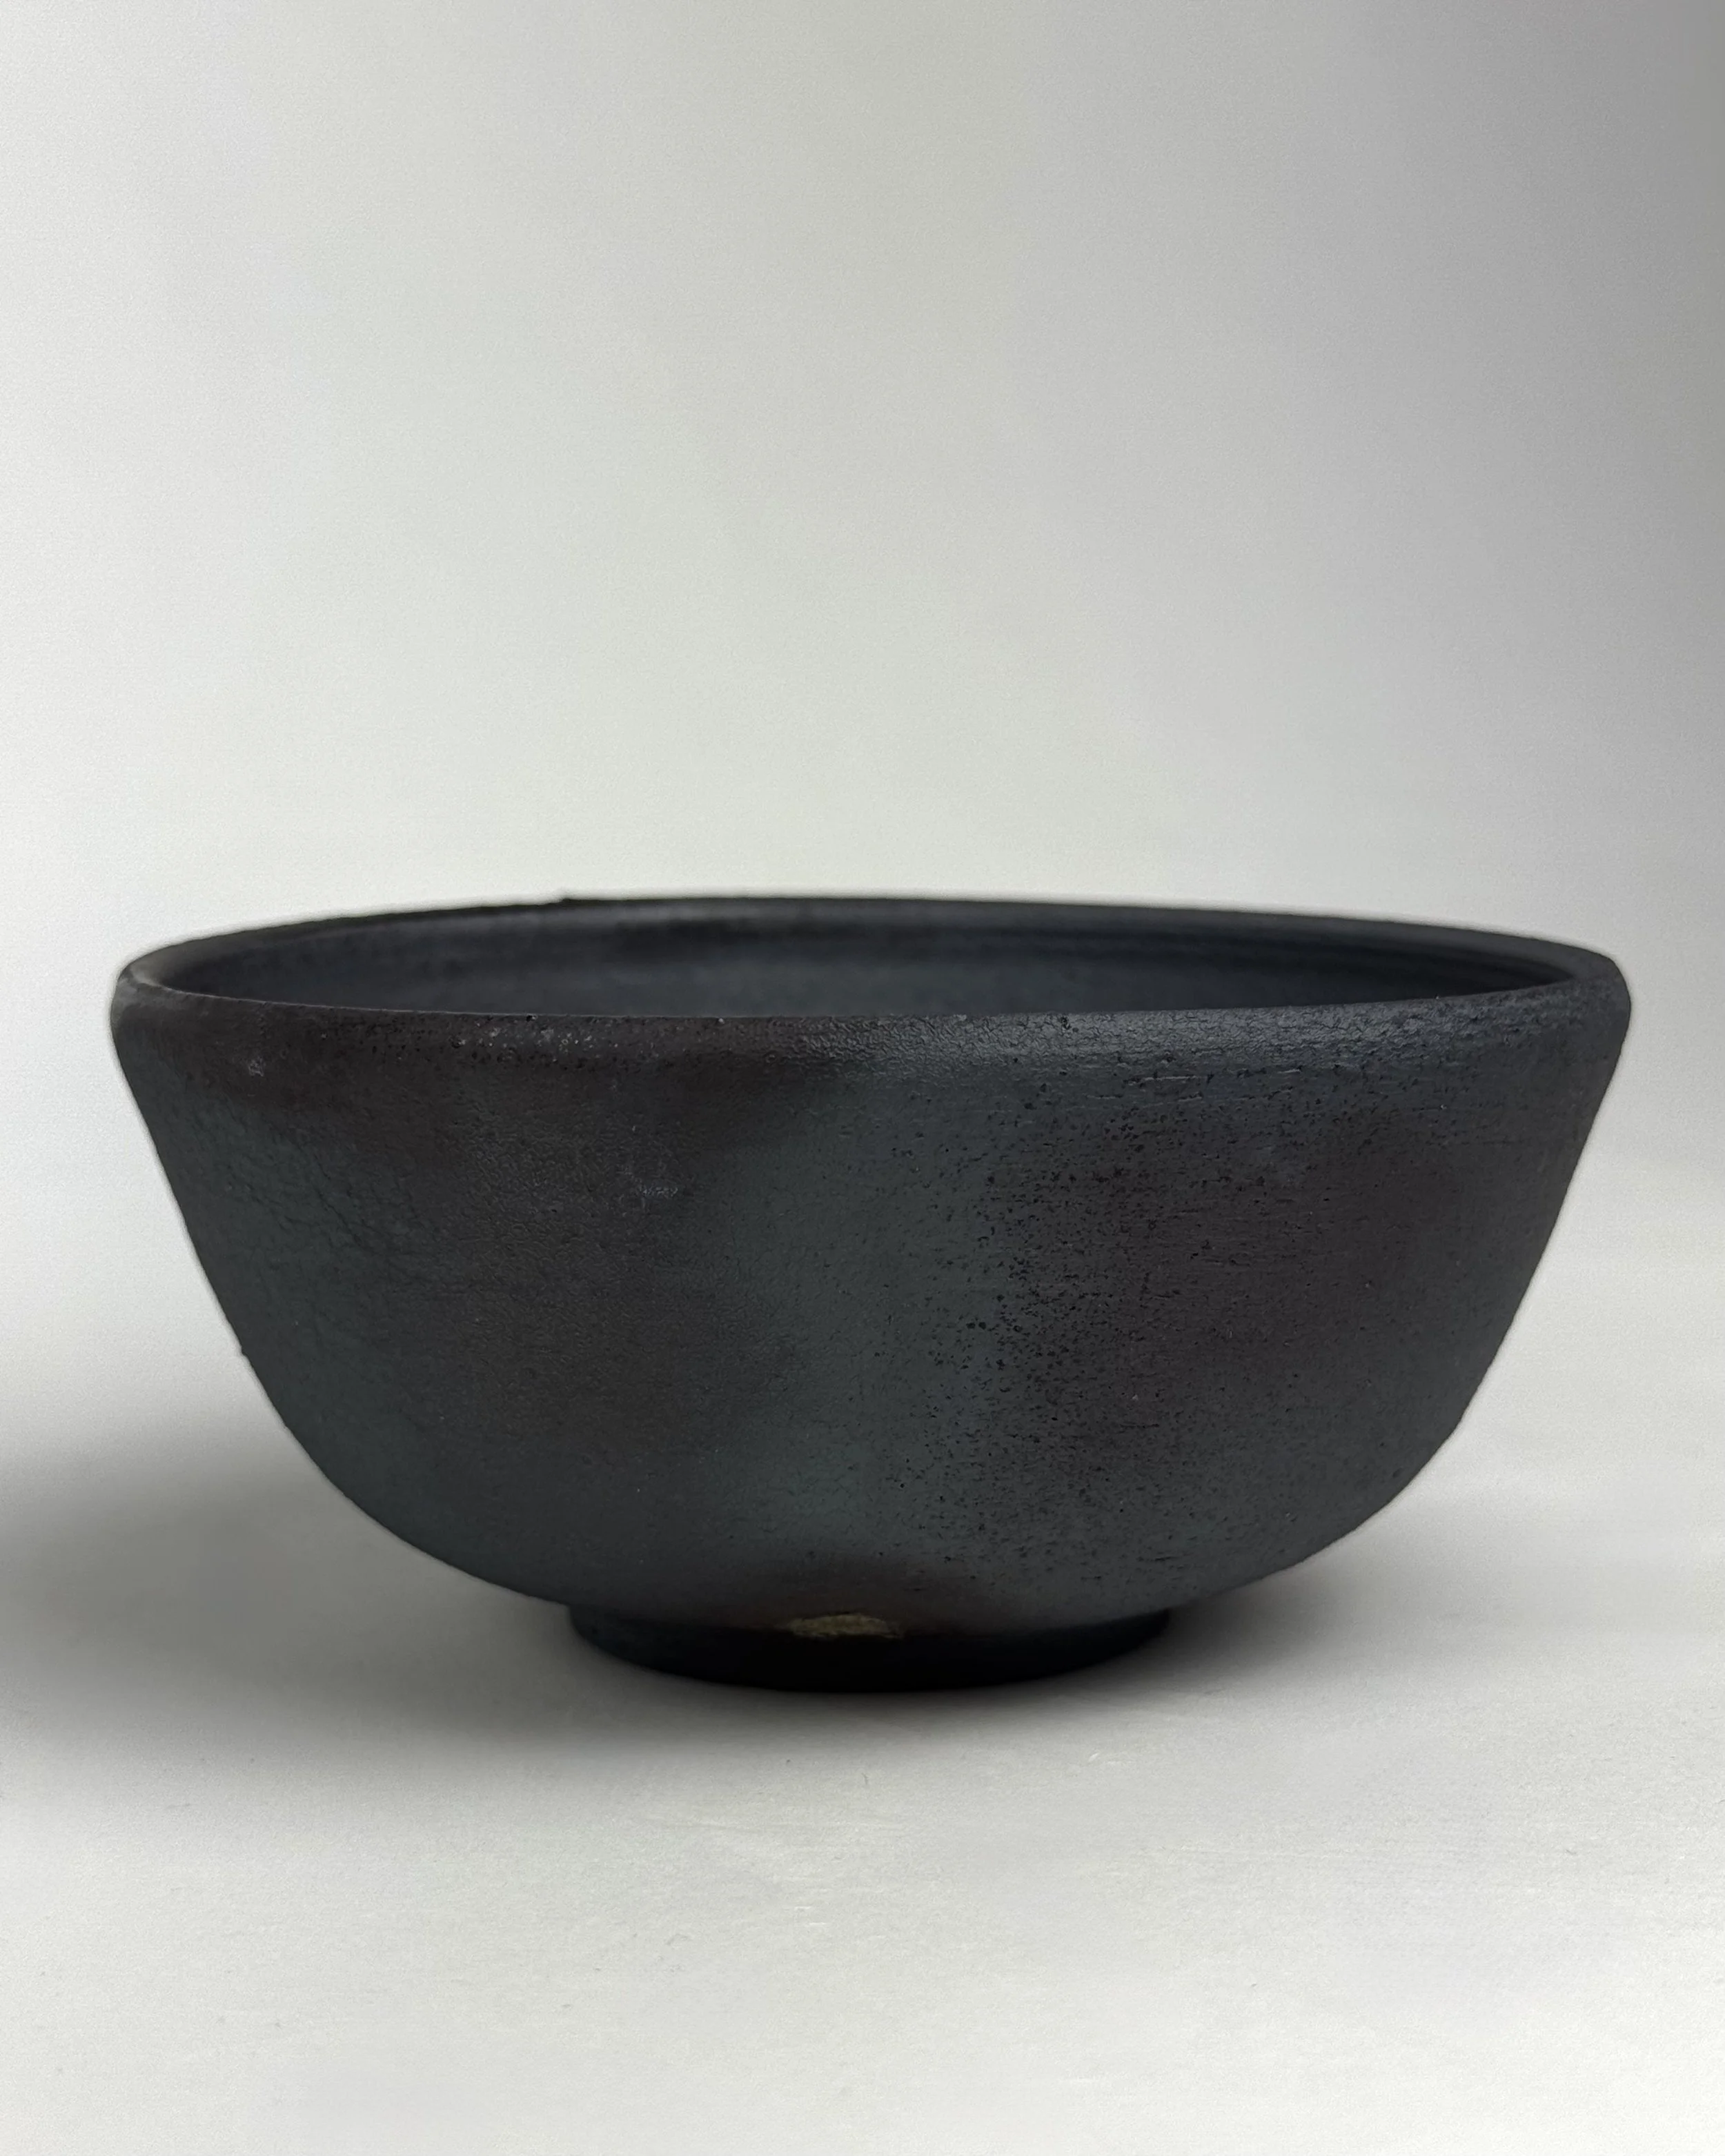
I recently put the older batch of clay through a cone 9 soda and salt firing. For the soda firing, I brushed porcelain slip onto the mixed wild clay. The surface came out beautifully, and the inside, glazed with tenmoku, revealed a pop of yellow at the rim—an exciting detail. For the salt firing, I used the bare clay body with a wild clay shino glaze on the inside. The salt effect and flashing were subtle, but in direct sunlight, the surface sparkled—a lovely surprise. The shino looked quite frosty on this clay compared to how it behaves on other bodies.
Moving forward, I’m planning to mix the wild clay with other dry materials to make it more suitable for high-temperature atmospheric firings.


OCT 5
I collected the wild clay at home and filled a 5-gallon bucket before heading back to the studio. I began by making test tiles and fired them to cone 08. The clay transformed into a lovely orange with sparkling mica specks. Next, I tested it at cone 6 in both electric and gas firings. The clay didn’t take glaze well, resulting in a matte, dry surface. In the electric kiln, the clay turned a dirty orange, while in gas reduction it became a deep, dark brown.

Wild clay test tiles (left to right: 08, Cone 6 Electric, Cone 6 Gas Reduction
Curious to see how it would react in soda, I made two test cups. However, the firing was uneven—reaching a hard cone 6 at the top while cone 5 at the bottom didn’t bend at all. Both wild clay cups cracked. I suspect the thin walls and differences in shrinkage between the clay body and glaze caused stress, leading to the cracking. Taking that into account, I mixed the wild clay with a stoneware body I had in the studio. I tested both the pure wild clay and the mixed body in a cone 10 electric firing—and to my surprise, they both withstood the temperature!


